
Getting-Started Lightroom
Adjust the White Balance Using Neutral Areas
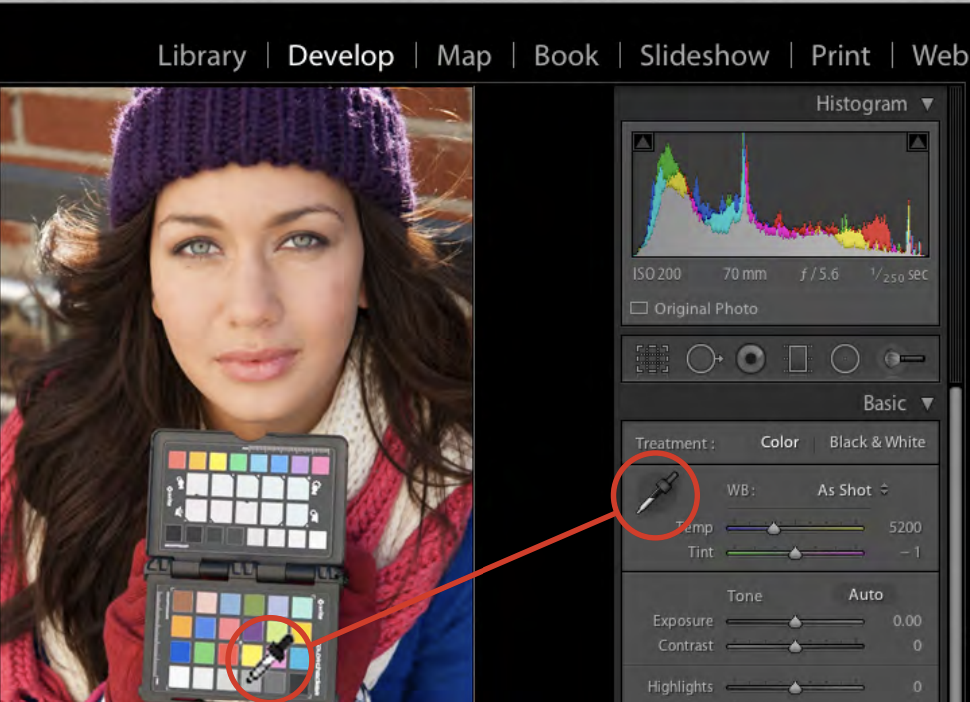
Click White Balance selector tool icon in the Basic panel. Then, move it to a neutral part of your image, meaning a place where the RGB (red, green, blue) values are very close to each other, to try and find a neutral spot to use as the new target neutral. An excellent place to start with is the whites. You should click on something that should be gray. Neutral means that all three color channels, R, G, B, are equally represented in the images. This can range from 1% to 99% gray. Technically 0% and 100% are neutral in color but there are no image details at those values.
You can use a grey card 18% grey.
Adjust the White Balance Using Xrite Calibrate ColorChecker
0- Shooting the Color Checker Passport 1- Export RAW photo of colorChecker Passeport. 2- Convert RAW to DNG (Adobe Dng Converter). Save as -> dng 3- Create profile in ColorChecker software. Create Profile->Export Profile 4- Import profile into Lightroom. Profile->Import profiles Then, Ajust white balance (target gray) Choose Edit settings to copy: Profile + Color ->White Balance -> Apply to original photos
Calibrate colors using Xrite plugin for Adobe Lightroom:
File->Export with Preset-> Color Checker Passport